This example is implemented by using python and flask to run a GET method with RESTful API.
1. Install environment and Flask
pip install virtualenv mkdir todo-api cd todo-api virtualenv flask flask/bin/pip install flask |
2. Download app.py and run:
chmod a+x app.py ./app.py * Serving Flask app "app" (lazy loading) * Environment: production WARNING: This is a development server. Do not use it in a production deployment. Use a production WSGI server instead. * Debug mode: on * Running on http://0.0.0.0:5000/ (Press CTRL+C to quit) * Restarting with stat * Debugger is active! * Debugger PIN: 124-718-248 |
3. run curl in another terminal to make sure the API is working
curl http://172.22.147.111:5000/todo/api/v1.0/tasks
{
"tasks": [
{
"description": "Milk, Cheese, Pizza, Fruit, Tylenol",
"done": false,
"id": 1,
"title": "Buy groceries"
},
{
"description": "Need to find a good Python tutorial on the web",
"done": false,
"id": 2,
"title": "Learn Python"
}
]
}
|

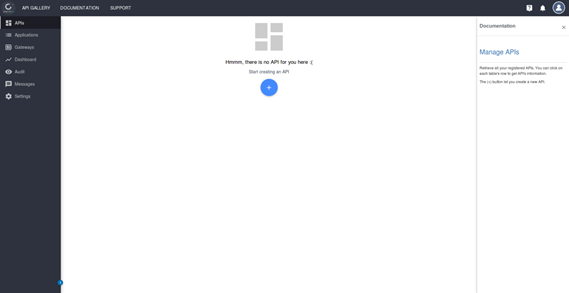
Click APIs and then click the blue “+” button
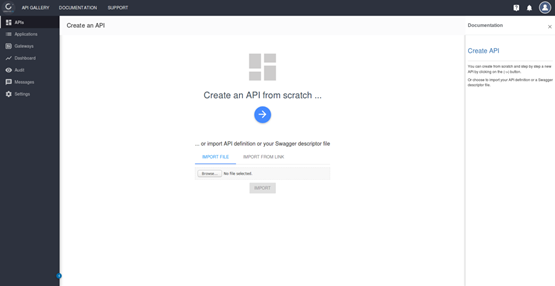
Click the blue button
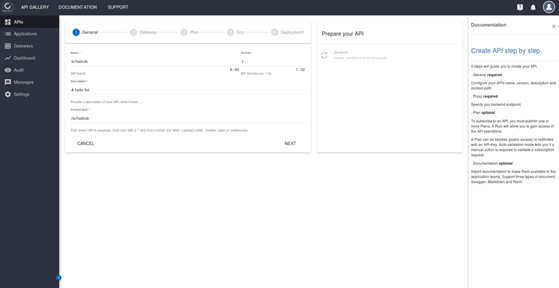
Input API Name, version, description and the API path after Publish this API. Then, press “NEXT”
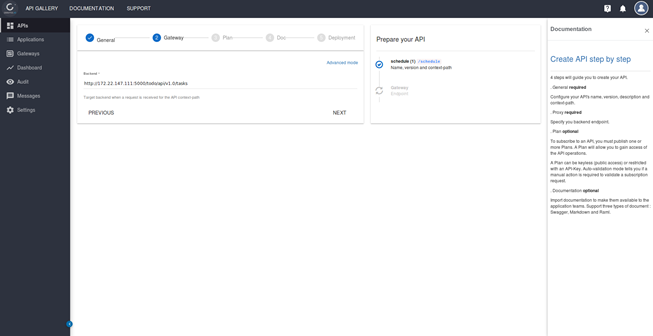
Input the original backend API path, and then press “NEXT”
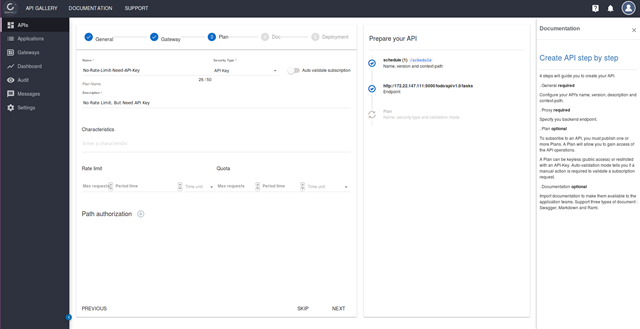
Setup the limitation of the API and then press “NEXT”
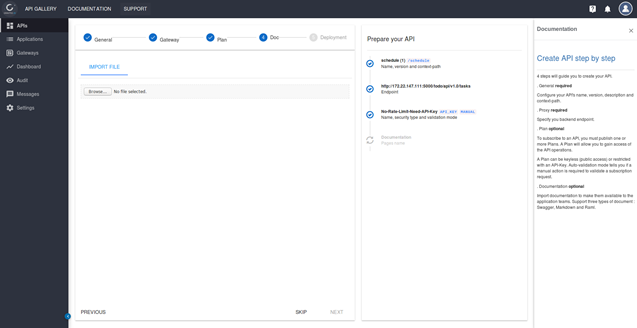
We can also fill in some description here.
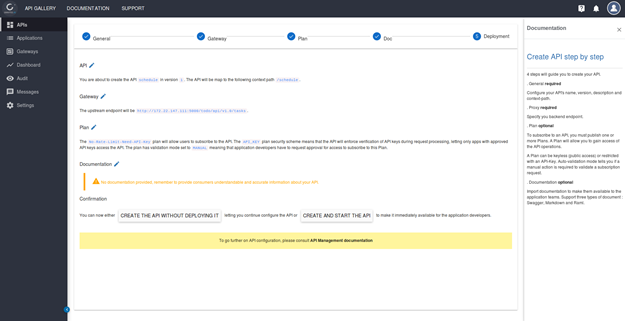
Then, press “CREATE AND START THE API” and press “CREATE”
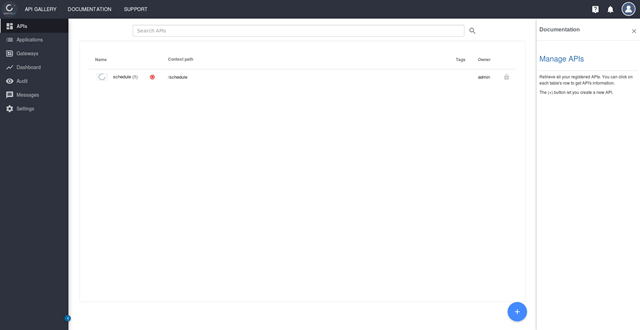
Return back to APIs page. If the status is red color, press this API to start it.
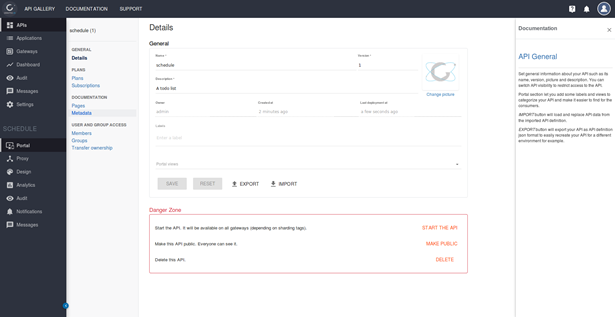
Press “START THE API”
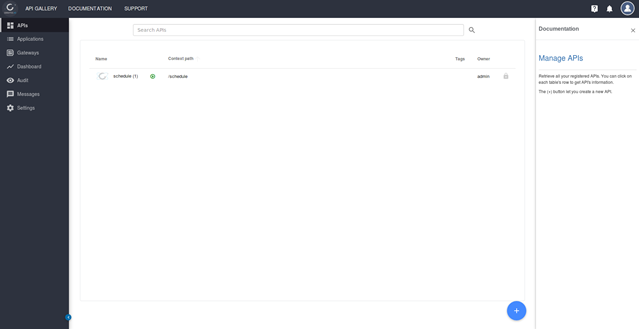
Return back to APIs page to make sure the status is green color.
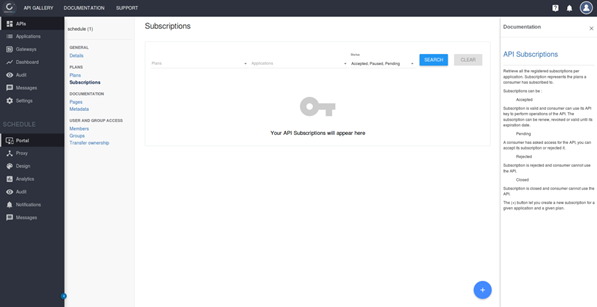
Press this API and then press ”Subcriptions”. Then press the “+” blue button.
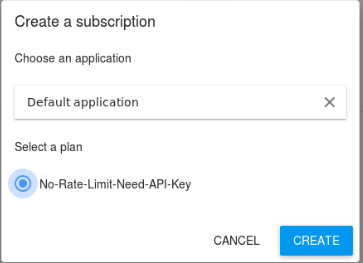
Input the application Name and select a plan then press “CREATE”.
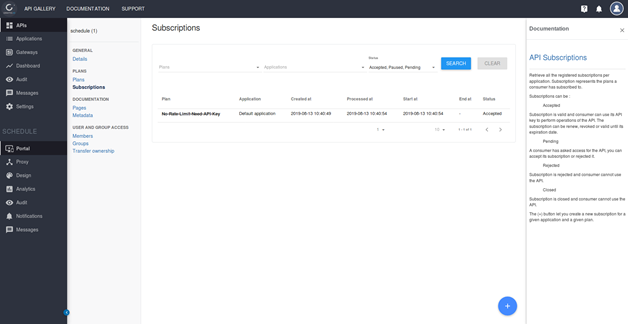
Click on the Subscription item (usually the user does not have an admin privilege, you can find the API on the home page and click to subscribe to get the API-Key)
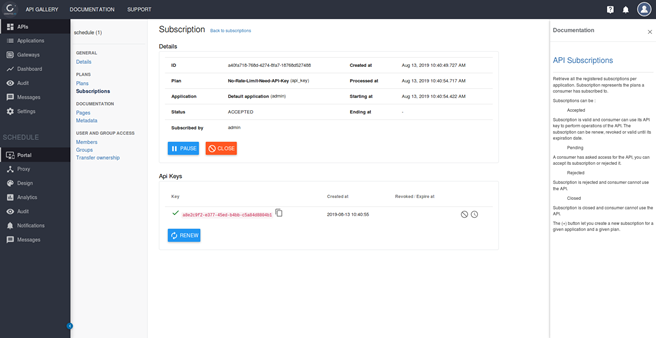
Copy the API Key
The original gateway IP cannot be connected to (cluster IP), the external accessibility is made by modifying its SVC to NodePort or LoadBalancer. The following is the NodePort method.
kubectl edit svc elastic-gravitee-gateway type: NodePort |
View the NodeIP and Port number after modification (10.100.28.7:32595)
kubectl get svc elastic-gravitee-gateway NAME TYPE CLUSTER-IP EXTERNAL-IP PORT(S) AGE elastic-gravitee-gateway NodePort 10.100.200.182 <none> 82:32595/TCP 20h kubectl get no -o wide NAME STATUS ROLES AGE VERSION INTERNAL-IP EXTERNAL-IP OS-IMAGE KERNEL-VERSION CONTAINER-RUNTIME 23bb5222-0943-4b12-995c-4fb299a6dfa4 Ready <none> 4d19h v1.13.5 10.100.128.7 10.100.128.7 Ubuntu 16.04.6 LTS 4.15.0-48-generic docker://18.6.3 352a6694-cab6-4165-bdf3-68dc900f88a1 Ready <none> 4d15h v1.13.5 10.100.128.4 10.100.128.4 Ubuntu 16.04.6 LTS 4.15.0-48-generic docker://18.6.3 37938113-8205-4ea9-bddc-43c7d3ccbe5b Ready <none> 5d17h v1.13.5 10.100.128.3 10.100.128.3 Ubuntu 16.04.6 LTS 4.15.0-48-generic docker://18.6.3 79fb216b-f663-4d92-b291-734d13a19a9b Ready <none> 4d18h v1.13.5 10.100.128.8 10.100.128.8 Ubuntu 16.04.6 LTS 4.15.0-48-generic docker://18.6.3 9ad3e715-4226-48d9-be71-77cfbfca4a90 Ready <none> 23h v1.13.5 10.100.128.6 10.100.128.6 Ubuntu 16.04.6 LTS 4.15.0-48-generic docker://18.6.3 |
Execute the following HTTP GET, replace the previously obtained key with the API key, and the path is http://workerIP:NodePort/PATH to make sure that the result is correct.
curl -H "X-Gravitee-Api-Key: a8e2c9f2-e377-45ed-b4bb-c5a84d8804b1" http://10.100.128.7:32595/schedule
{
"tasks": [
{
"description": "Milk, Cheese, Pizza, Fruit, Tylenol",
"done": false,
"id": 1,
"title": "Buy groceries"
},
{
"description": "Need to find a good Python tutorial on the web",
"done": false,
"id": 2,
"title": "Learn Python"
}
]
}
|
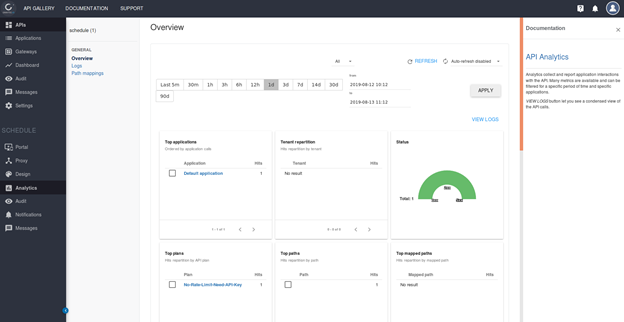
After the completion, in admin page you can click on the analysis on the left side of the API to see the traffic, clicks and other information of the API.