...
| Code Block | ||||||
|---|---|---|---|---|---|---|
| ||||||
# master kubeadm init --image-repository registry.aliyuncs.com/google_containers --kubernetes-version=v1.23.7 --pod-network-cidr=19210.16810.0.0/16 |
Execute screenshot

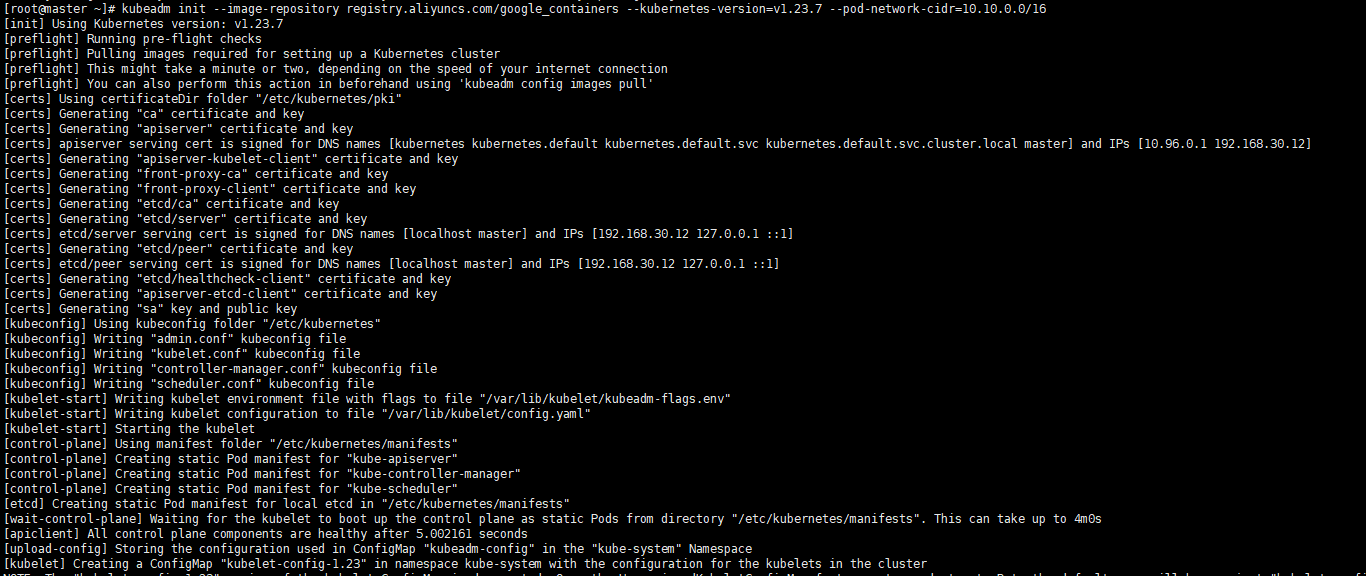

You can see that the prompt initialization is successful, and at the end of the prompt, the way to join the worker node is provided. The prompt executes the following command to use kubectl normally
...
| Code Block | ||||||
|---|---|---|---|---|---|---|
| ||||||
# master kubeadm reset -f rm -rf ~/.kube/ rm -rf /etc/kubernetes/ rm -rf /var/lib/etcd rm -rf /var/etcd |
4.3 Configure the
...
cilium network
...
plugin
Here select cilium as the network plug-in
Execute command
| Code Block | ||||||
|---|---|---|---|---|---|---|
| ||||||
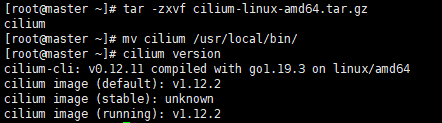
# master
curl -L --remote-name-all https://github.com/cilium/cilium-cli/releases/latest/download/cilium-linux-amd64.tar.gz
tar -zxvf cilium-linux-amd64.tar.gz
mv cilium /usr/local/bin/
cilium version
cilium install |
Execute screenshot


Through the get po command above, you can see that the status of the two pods of coredns is being created. In this step, configure the calico network plug-in to make it work. Create the calico.yaml file. If the remote machine cannot download it, copy the text directly from the URL and create it manually. After applying the configuration
Execute command
| Code Block | ||||||
|---|---|---|---|---|---|---|
| ||||||
# master
curl https://projectcalico.docs.tigera.io/manifests/calico.yaml -O
vi calico.yaml
kubectl apply -f calico.yaml
# loop,until all the pod is ready
kubectl get po -A |
Execute screenshot

5 Initialize workers
...